Your privacy is our top concern! We offer dependable solutions to safeguard you from unauthorized monitoring, ensuring your confidentiality in any setting.
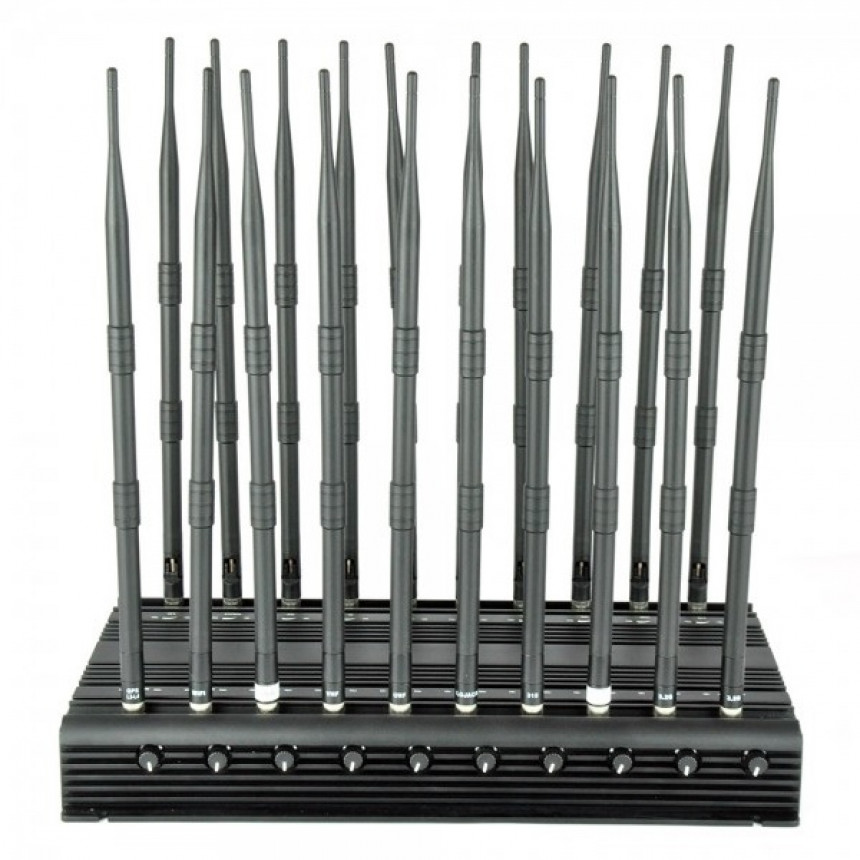
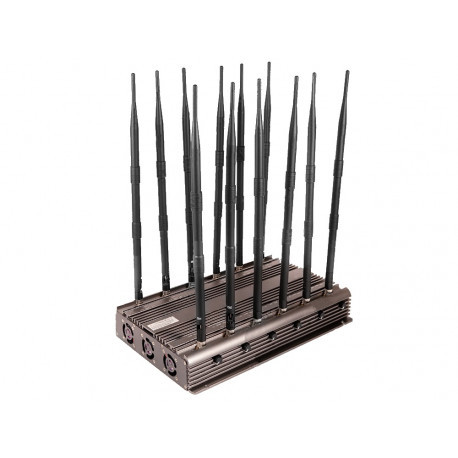
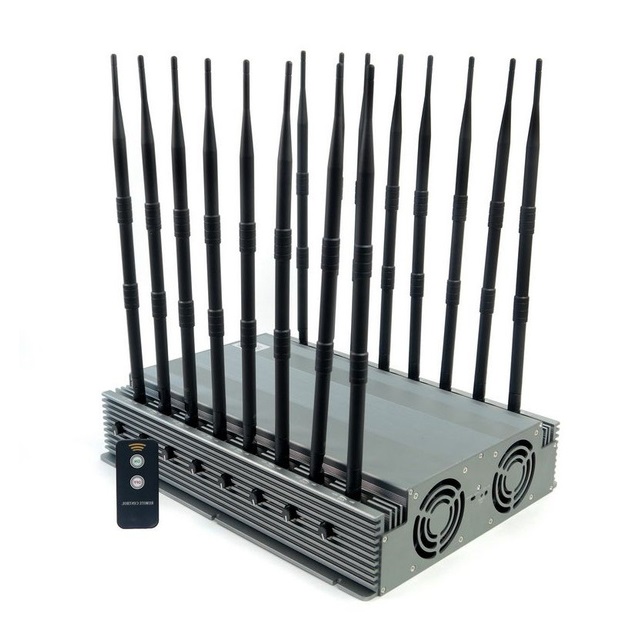
The T-N20 is not simply a continuation of the T-N16 and T-N18 — it improves on their strengths with more power, more frequency options, and better control flexibility.
With 50W total output power, a coverage capability of up to 60 meters under suitable conditions, supported frequency ranges include:
Technical Specifications of T-N20 Desktop wireless signal jammers:
Frequency Band
Frequency Range
CDMA
850-894MHz
GSM
1800-2000MHz
3G
2110-2170MHz
4G
700-803MHz
5G
617-652MHz
WiFi 2.4GHz
2300-2500MHz
WiFi 5.2GHz
5150-5350MHz
WiFi 5.8GHz
5720-5850MHz
GPS L1
1570-1620MHz
GPS L2+L5
1200-1310MHz
GPS L3+L4
1370-1400MHz
UHF
400-470MHz
VHF
135-174MHz
LoJack
167-175MHz
RC315
315MHz
RC433
433MHz
RC868
868MHz
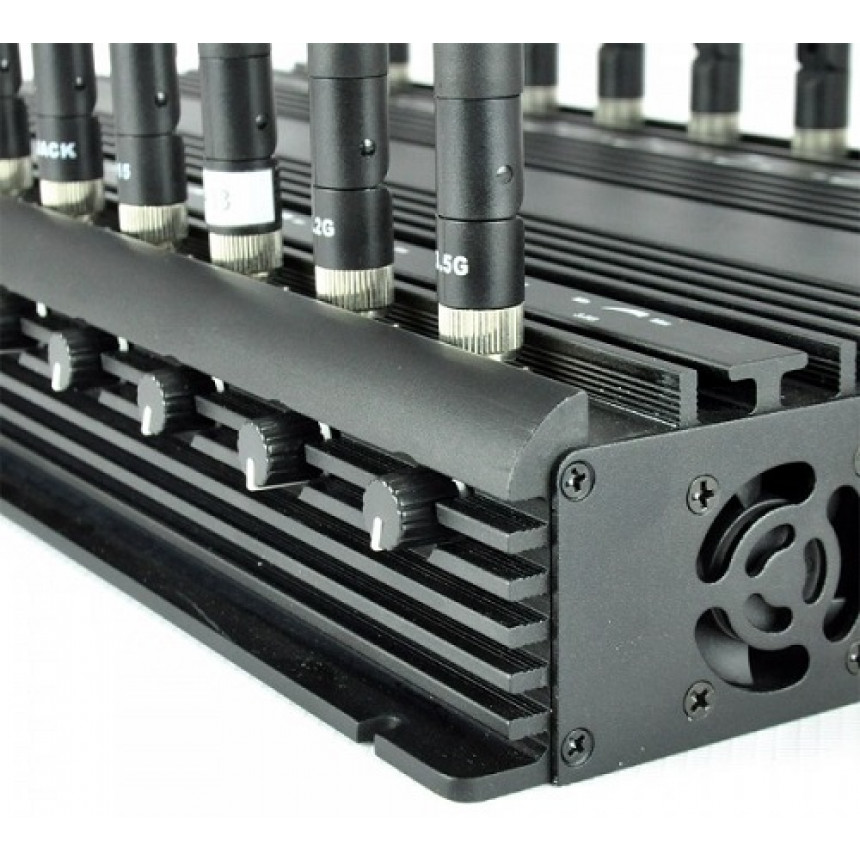
Instead of treating all frequencies as one group, the network blocker includes independent adjustment knobs that allow users to fine-tune the output intensity of each frequency section instead of running every channel at maximum power.
Each antenna is clearly marked with its corresponding frequency band, making installation faster and reducing confusion during setup. From cellular communication bands to WiFi or GPS-related frequencies, every channel has its own dedicated antenna connection.
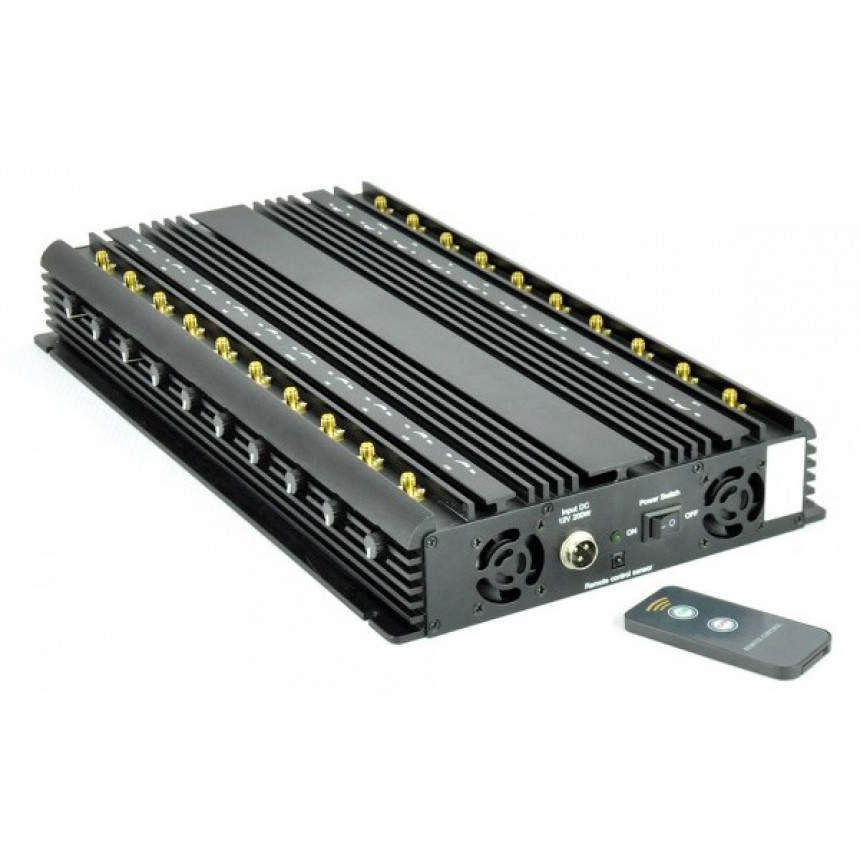
High output power creates heat, and heat management directly affects stability. The desktop jamming device combines two cooling methods:
Milled fin-style passive cooling base
Dual-side forced air cooling system
The aluminum fin structure increases heat dissipation efficiency, while the side cooling fans improve airflow around internal components. This combination provides a more stable operating environment during extended use.
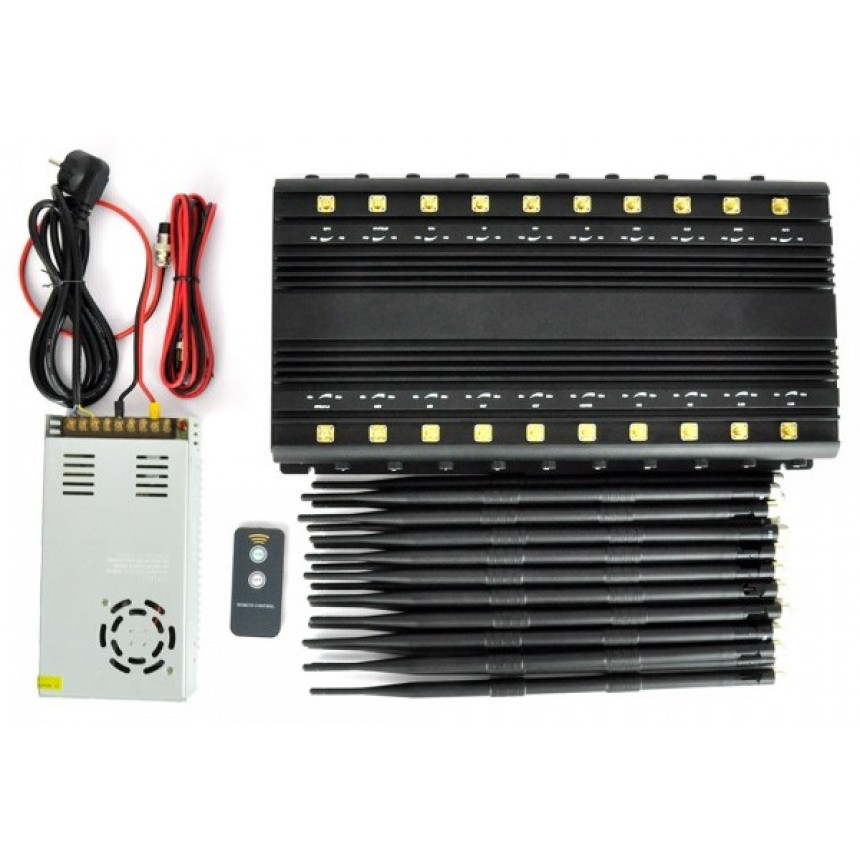
The cellular phone jammer supports both standard 220V wall outlet power and 12V power input, allowing more installation flexibility. Users can connect the device directly to a regular AC power source or integrate it with a 12V power system depending on the application environment.
The included remote control allows users to turn the device on or off without approaching the main unit, this small detail improves convenience.
Kind tips:
Connect all antennas correctly, then plug in the power adapter and switch the device to “ON”.
Point the remote control at the receiver and press the “ON” button to start the device.
Make sure the remote control has a button cell battery installed. If not, insert a suitable battery before use.